Walking that knife edge between classy and chavy, I decided to get into the world of carbon fibre wrapping.
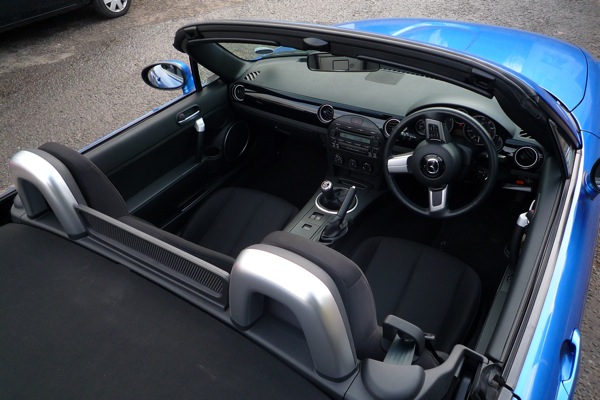
I was getting bored of my plain old, piano black dash strip. There has always been a little too much black in the cabin and although shiny, this dash strip didn’t add a lot of interest. What’s worse is that it’s made of a very soft plastic. Look at it for too long and you’d scratch it. If that weren’t so bad, it’s also a magnet for fingerprints and dust. It was time for a change.
I’ve always wanted to be able to go back to factory spec if I decided that I didn’t like any of the mods I have done. I’m not too big to admit if I get it wrong. So, with that in mind I looked at replacement options for my dash strip. Mazda a good enough to offer a range of colours. The brushed aluminium caught my eye as it would tie in with the other silver accents in the car. Now, I’m a DIY kind of a guy so when I saw the £140 price tag I though that I could save a few quid.
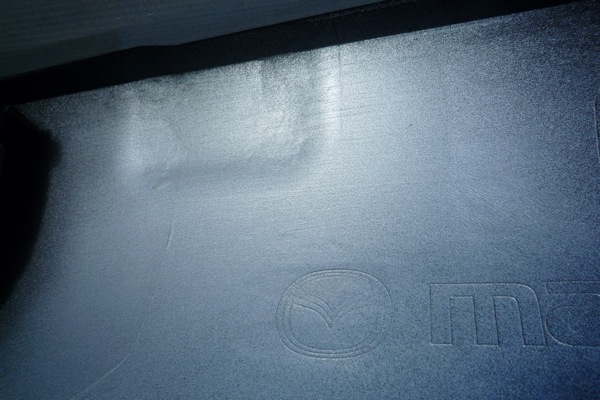
First off I bought another piano black dash strip from a fellow mx-5.com member who’d swapped his standard panel for a colour coordinated Winning Blue strip when he bought his car. This meant that it was as good as new and only £10. Plan A was to recreate the brushed aluminium effect. So I bought a can of silver spray paint and considered how to get the brushed look. After much deliberation I decided to test a wire wool approach on the rear of the panel. This is the result:
More scratched that brushed, huh? So I settled for simply spraying it untextured silver. Plan B, if you like. This is the result:
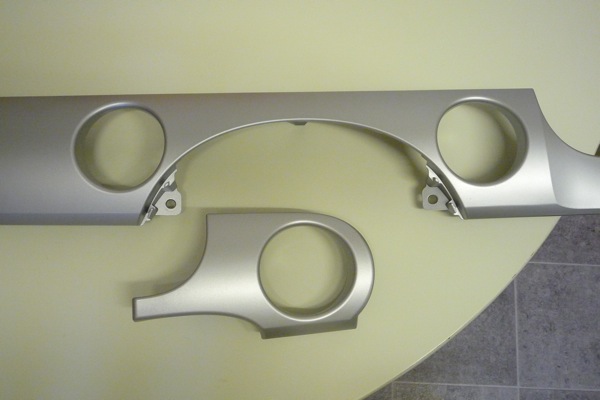
“Not bad”, you might think. But on closer inspection there was a certain patchy aspect to the finish. I knew that if I fitted it like that to the car it would annoy me over time. Me? A perfectionist? Never!
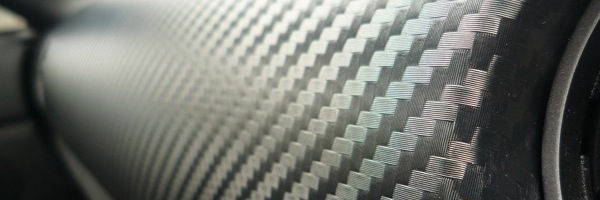
Now, I’m quite good with a rattle can when it comes to painting but I wasn’t convinced that I’d get the finish I was after so I was in need for a plan C. I’d come across a 3M product called Di-Noc. It’s a textured vinyl and is available in a multitude of colours and textures, included carbon fibre.
Now stop right there! I know what you are thinking…
or…
That’s not what I was going for. Trust me on this.
The stuff comes as a roll and has an adhesive backing. Application the flat surfaces is a peel and stick affair. Contours are a little tricky. What you need is the right tools.
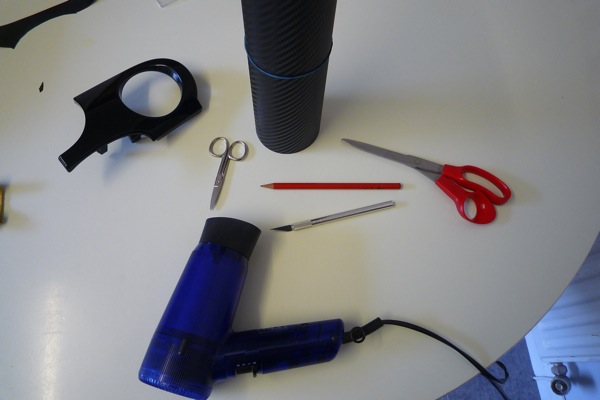
The hair drier is my convenient replacement for a heat gun. By heating the vinyl up you can stretch it to fit most contours and curves. Just note that you can’t get it to shrink although you can get it to return to its original size after stretching. This video gives a pretty decent demo of what it’s all about.
Essentially you mark out what you need and allow for lots of wrap around.
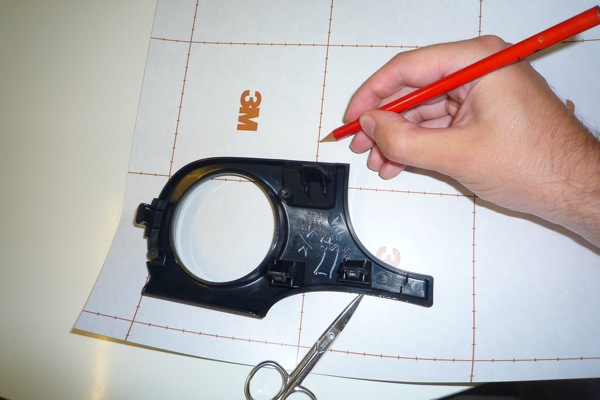
Apply the vinyl to the surface.
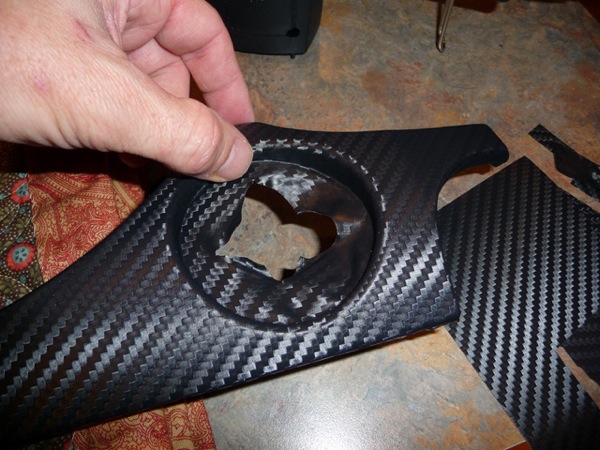
The holes for the vents were tricky. I had to cut a little cross or star into the middle of the vinyl covering the hole and then stretch out the vinyl using a little heat to get it to contour round the vent hole.
Top tip: wrap it well around the edges. The better you do this, the less chance you have of it peeling back off.
Once you’re all wrapped up you need to remove the existing panel from the car. You can download Mazda’s PDF for the panel removal and fitting here.
Decoration Panel Set – Using Instructions
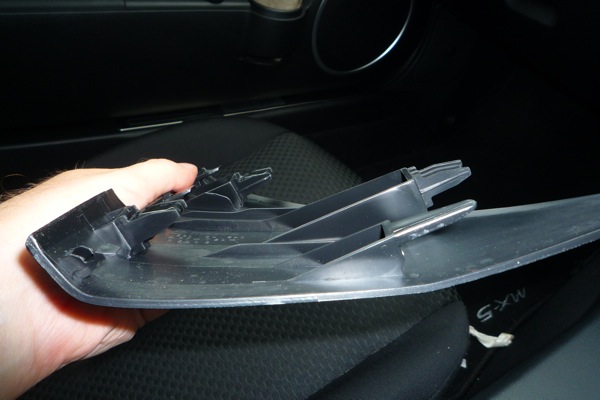
I used the wallpaper scraper blade wrapped in insulating tape to prise off the triangular panels flanking the central console.
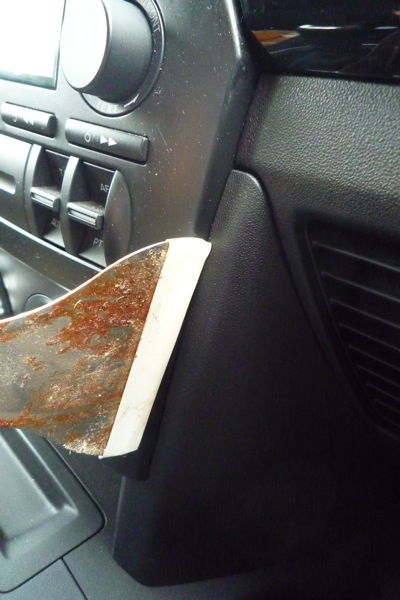
They slide almost directly towards you on their clips.
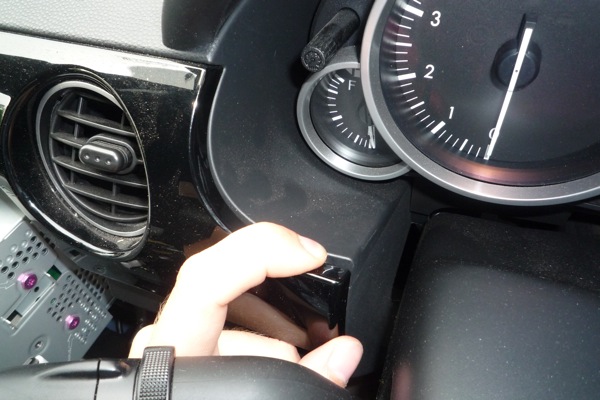
The panel under the steering column also needs to be removed. It is clipped at the back so pull it directly down from there. This is to allow access to the side securing bolt for the stereo.
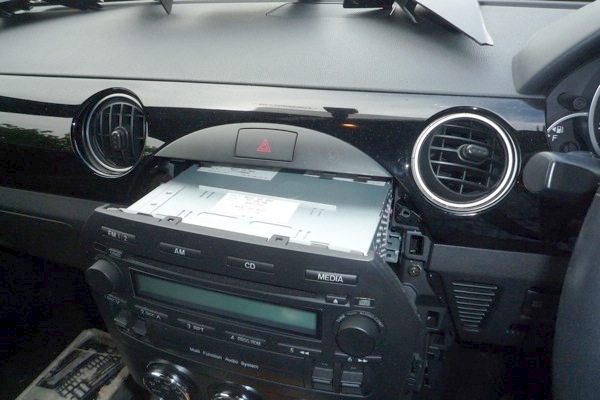
Next comes the stereo itself. You just need to move it far enough forward to allow you access to the screws that hold the long dash panel.
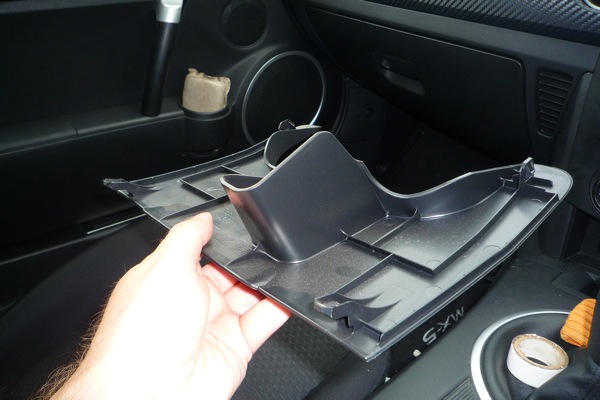
Finally the glovebox is removed by opening it and disengaging the cable at the side that holds it from falling open too far. You then simply open it wide and it’ll slide off its hinges.
The smaller dash panel piece simply pops off. Attack it (gently) with the scraper from the instrument panel side. A similar approach can be used for the larger panel but remember it is held by three screws. Two of them are the ones revealed by removing the stereo. The third is behind it. You access this from going through the glovebox opening. Be aware the the dash panels are held in pretty tight by their clips to you will need to apply a bit of effort to free them.
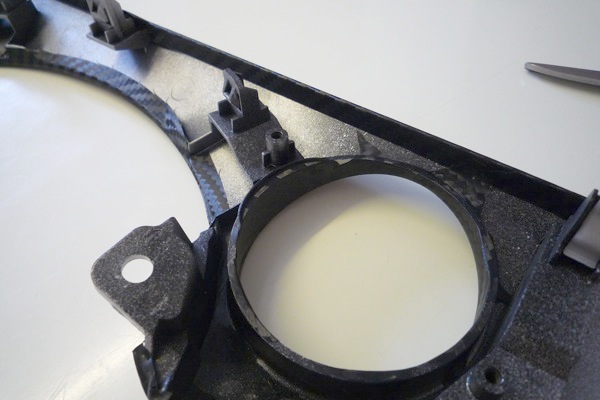
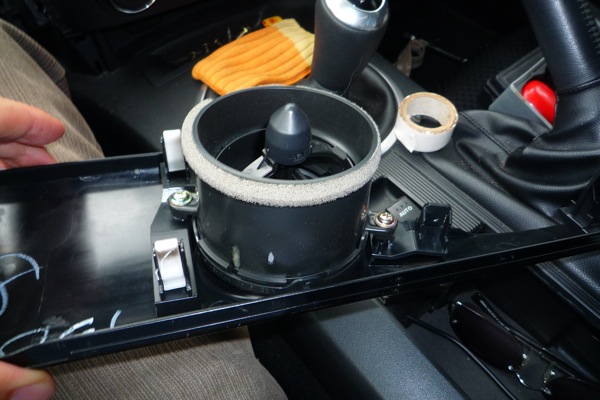
I swapped the air vent nozzles from the old strip to the new. They are simply fixed by two philips screws.
Assembly is the reverse of the disassembly. Just remember all three dash panel screws and the side bolt on the stereo.
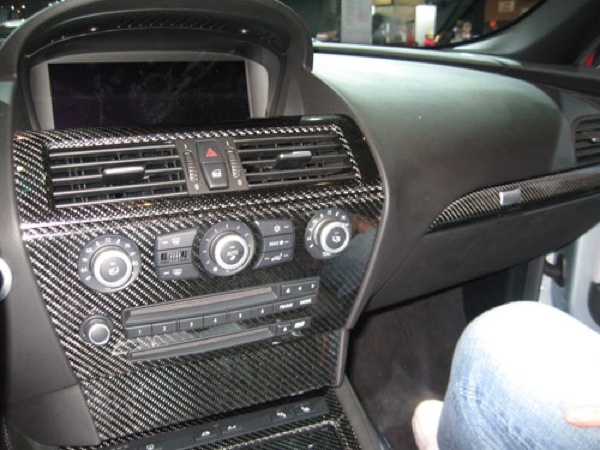
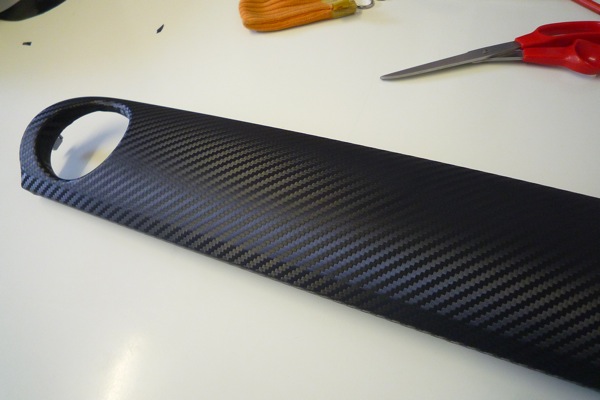
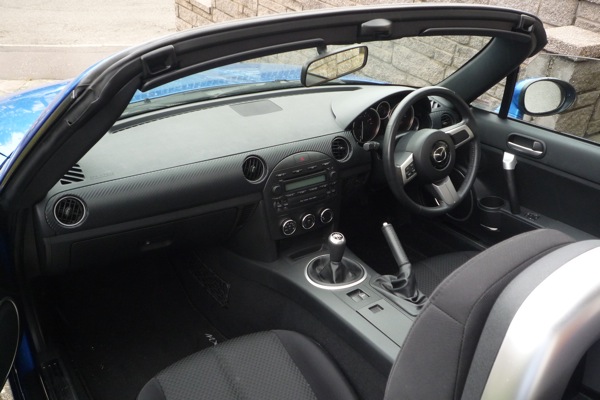
The finished article looks pretty good (in my honest opinion).
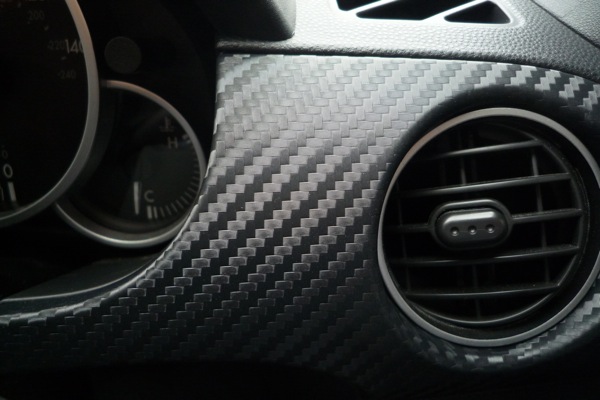
Of course, you can spray the vinyl with a clear lacquer to achieve the usual gloss look for the carbon fibre. I didn’t want this and preferred to stick with the more muted look. It matches rather well with the seat fabric.
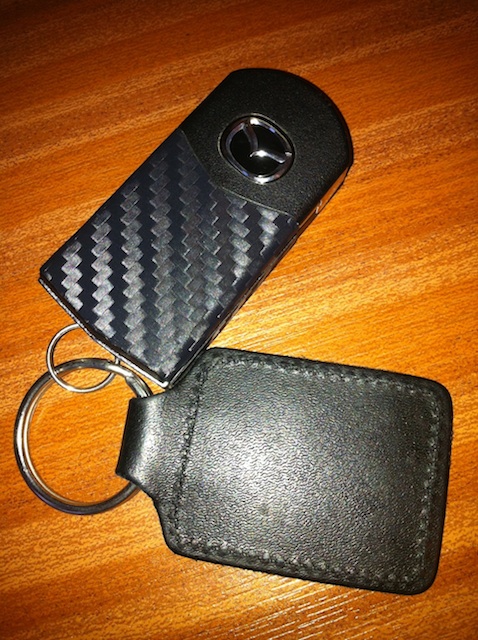
Now I have some of the vinyl left over, it’s difficult to resist wrapping other stuff…
Nice one dave in both fitting technique and results.
Steve.
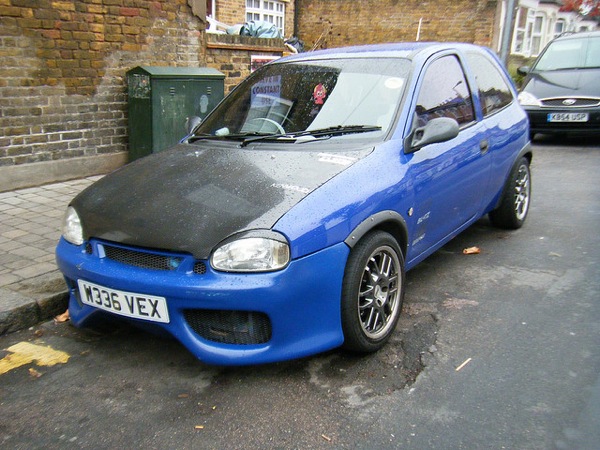
Very good, but perhaps you could have found some other tasteful styles? We saw a Ge-Wiz car in London yesterday that was done up in leopard print, and it made us think of how else your dash could have turned out…
Yeah, baby, yeah!
Man, I missed a trick there. Now the car’s interior seems dull and shabby in comparison.
Just the most entertaining and downright ingenious articles about modifying MX5. Now if you had bought the best one, NB8B, just imagine what you could have achieved.
i have done exactly the same. pity i didnt find your how to do it before i did mine. might have been less stressful. i used the origonal piano black dash, so no going back when you start to pull the panel from the dash !! i have also covered my phone …..the uses are endless.
That looks great, but a lot of that is down to the attention to detail in fitting the cf stuff – you did a stunning job there. It also goes really well with the pattern on the seats, so looks like it was meant to be. I was worried it was going to be too much but you definitely stayed well over the tasteful side of the line. Really really nice, I’m jealous!
Thanks Dave, I have a roll of the NiDoc stuff sat waiting for application to my mk1 ‘5 tomorrow. I’m going for dash strip (like yours) but also the center console. Was a bit worried it would look like a halfords special afterwards but looking at yours I reckon it could be ok. Anything beats the awful plastic ‘walnut’ trim that comes as standard!!!
Is there a different procedure to apply the vinyl on textured plastic parts.Like the plastic that surrounds the air vents.